For instance, fabric can provide a soft, diffused light effect and is available in countless colors and patterns, making it an excellent choice for those looking to add warmth and texture to their space. Plastic is another popular option due to its lightweight nature and versatility. It can be molded into various shapes and is often used for more modern or minimalist designs.
Acrylic sheets, for example, can be cut and shaped to create sleek, contemporary covers that allow for maximum light diffusion while maintaining a clean look. This modern material is ideal for those seeking a minimalist aesthetic without compromising on functionality.
Wood, on the other hand, brings an organic element to your design and can be stained or painted to match your decor. Metal covers can introduce an industrial flair and are particularly effective in spaces that embrace a more modern aesthetic. Both of these materials offer unique characteristics that can enhance the overall ambiance of a room.
Creating your own ceiling light cover can be broken down into manageable steps that ensure a successful outcome. First, gather your materials and tools. Depending on your chosen design, you may need items such as fabric, plastic sheets, wood panels, or metal grids, along with tools like scissors, a utility knife, a drill, and adhesive or screws for assembly.
It’s essential to measure the dimensions of your existing light fixture accurately to ensure a proper fit for your new cover. Once you have your materials ready, begin by sketching out your design. This will help you visualize how the cover will look once completed and allow you to make any necessary adjustments before cutting materials.
For fabric covers, consider creating a frame using lightweight wood or plastic to support the fabric. Cut your fabric to size, leaving extra material for folding over the edges. If you’re using plastic or acrylic sheets, carefully cut them according to your design specifications and drill holes for mounting if necessary.
After preparing your materials, assemble the cover according to your design. If you’re using fabric, stretch it over the frame and secure it with adhesive or staples. For plastic or wood designs, use screws or brackets to attach the pieces together securely.
Once assembled, it’s time to install your new ceiling light cover. Ensure that it fits snugly over the fixture and is securely mounted to prevent any accidents.

The beauty of DIY ceiling light covers lies in their potential for creativity and personalization. One popular design idea is to create a geometric pattern using wooden slats or metal grids. This approach not only adds visual interest but also allows light to filter through in unique ways, casting intriguing shadows on the walls and ceiling.
You can paint the slats in contrasting colors or leave them natural for a more rustic look. Another innovative idea is to use fabric in unexpected ways. Consider layering different fabrics with varying degrees of opacity to create depth and texture.
For instance, a sheer layer can be placed over a more opaque base fabric, allowing light to diffuse softly while still providing some privacy. You could also experiment with dyeing techniques or stenciling patterns onto the fabric before assembling it into a cover. For those who enjoy a more whimsical approach, consider incorporating elements like paper lanterns or origami designs into your ceiling light cover.
These can be made from lightweight paper or cardstock and hung from the ceiling as decorative accents that also serve as functional light diffusers. The playful shapes and colors can add a touch of fun to children’s rooms or creative spaces.
| Design Ideas | Materials | Difficulty Level |
|---|---|---|
| 1. Geometric Patterns | Cardboard, paint, string lights | Medium |
| 2. Floral Fabric Covers | Fabric, glue, scissors | Easy |
| 3. Rustic Wood Panels | Wood planks, screws, drill | Hard |
| 4. Paper Lanterns | Colored paper, wire frames | Easy |
Proper installation is key to ensuring that your DIY ceiling light cover functions effectively and safely. Before installation, double-check that all components are securely fastened and that there are no sharp edges that could pose a risk. When mounting the cover, ensure that it is positioned at an appropriate height so that it does not obstruct any existing fixtures or create hazards in the room.
Regular maintenance is also essential for keeping your ceiling light cover looking its best. Depending on the materials used, dust and dirt can accumulate over time, dulling its appearance and affecting light diffusion. For fabric covers, periodic vacuuming or spot cleaning may be necessary to remove dust and stains.
Plastic or acrylic covers can typically be wiped down with a damp cloth and mild detergent to maintain clarity and shine. If you’ve opted for wooden covers, consider applying a protective finish to prevent moisture damage or warping over time. Regularly inspect all components for signs of wear or damage, especially if you have used adhesive in your construction.
Addressing any issues promptly will help prolong the life of your DIY ceiling light cover.
The advantages of incorporating DIY ceiling light covers into your home decor extend beyond mere aesthetics. One significant benefit is the ability to customize lighting according to personal preferences and specific room requirements. By designing your own covers, you can control factors such as brightness and glare reduction, creating an environment that is both comfortable and visually appealing.
Additionally, DIY ceiling light covers can serve as an economical alternative to purchasing high-end lighting fixtures. With creativity and resourcefulness, homeowners can achieve stunning results without breaking the bank. This approach not only allows for savings but also fosters a sense of accomplishment as you create something unique for your living space.
Moreover, these covers can enhance energy efficiency by diffusing light more effectively than bare bulbs or standard fixtures. A well-designed cover can help distribute light evenly throughout a room, reducing the need for additional lighting sources during daytime hours. This not only contributes to lower energy bills but also promotes sustainability by minimizing electricity consumption.
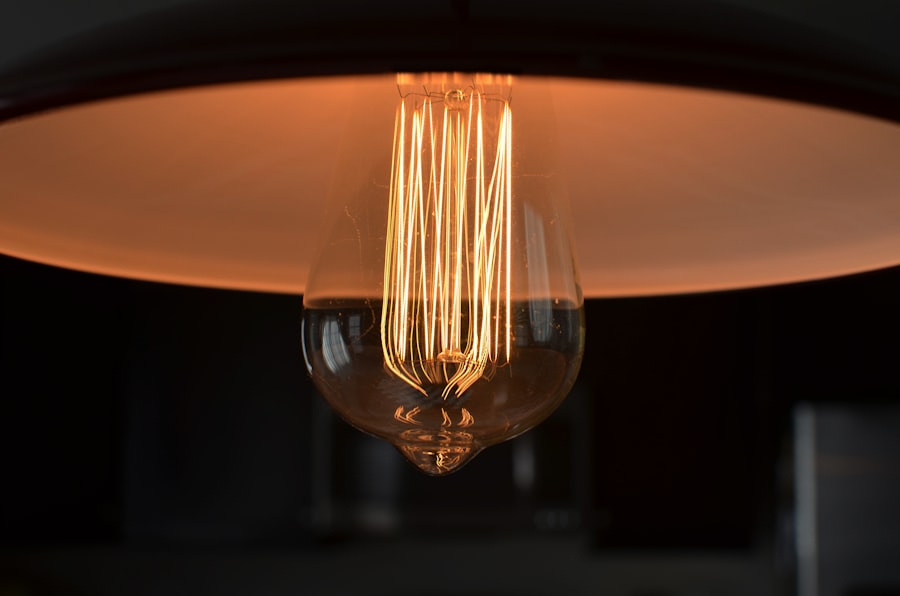
While creating DIY ceiling light covers can be an enjoyable project, safety should always be a top priority. When working with electrical fixtures, it’s crucial to ensure that all components are compatible with the existing lighting system in your home. Before beginning any installation work, turn off power at the circuit breaker to prevent electrical shock.
When selecting materials for your cover, consider their heat resistance properties. Some materials may not withstand high temperatures generated by certain types of bulbs, leading to potential fire hazards. Opting for heat-resistant plastics or fabrics designed specifically for use around lighting fixtures can mitigate these risks significantly.
Additionally, ensure that any mounting hardware used is rated for the weight of your cover. Overloading fixtures with heavy materials can lead to structural failures or accidents. Regularly inspect your installation for signs of wear or loosening over time; addressing these issues promptly will help maintain safety in your home.
DIY ceiling light covers offer an exciting avenue for personal expression while enhancing both functionality and aesthetics in your home. By carefully selecting materials and employing creative design ideas, you can transform ordinary lighting fixtures into stunning focal points that reflect your style and meet your practical needs. The process of creating these covers not only allows for customization but also fosters a sense of accomplishment as you enhance your living space with unique elements crafted by your own hands.
As you embark on this creative journey, remember that safety should always be at the forefront of your mind. By adhering to best practices during installation and maintenance, you can enjoy the benefits of your DIY ceiling light covers without compromising safety or functionality. Ultimately, these projects not only illuminate your home but also serve as expressions of creativity that make each space truly yours.
If you’re looking for more inspiration on DIY projects for your home, check out this article on creative DIY ceiling light cover ideas. This article offers unique and budget-friendly ways to update your lighting fixtures and add a personal touch to your space. Whether you’re looking to add a pop of color or create a statement piece, these DIY ceiling light cover ideas are sure to inspire your next home improvement project.
A DIY ceiling light cover is a decorative or functional cover that is placed over a ceiling light fixture to change its appearance or to diffuse the light in a more pleasing way.
Making a DIY ceiling light cover allows you to customize the look of your light fixture to match your decor, and it can also help to soften and diffuse the light for a more ambient effect.
Materials commonly used for DIY ceiling light covers include fabric, paper, wood, metal, plastic, and even natural materials like bamboo or rattan.
It’s important to ensure that any materials used for a DIY ceiling light cover are heat-resistant and will not pose a fire hazard. Additionally, the cover should not obstruct the airflow around the light fixture.
Some creative ideas for DIY ceiling light covers include using patterned fabric to create a soft, draped effect, using geometric shapes or cutouts for a modern look, or repurposing materials like mason jars or wine bottles for a unique, upcycled cover.





Leave a comment